Podcasting has emerged as a dynamic platform for expressing your ideas, fostering a community, and positioning yourself as an expert in your field. Whether you’re looking to launch a podcast for enjoyment, to enhance your brand, or to drive business growth, this guide will take you through each step, helping you achieve a seamless and professional launch.
If you’ve started a blog and want to reach a wider audience, then branching out to podcasting is a great idea. With podcasts, people can listen to your content while on the go. So, it’s the perfect way to capture the attention of people who don’t have time to sit down and read your blog posts.
Step 1: Define Your Podcast Concept
A podcast is a series of audio recordings of discussions on a specific topic, such as motherhood, entrepreneurship, true crime, fitness, etc. The digital audio files of podcast episodes can be downloaded to a personal device or listened to via a streaming service. Users can subscribe to a podcast to keep up-to-date on new podcast episodes.
Before you start recording, it’s important to define the purpose of your podcast. Consider the following questions:
• What motivates you to create a podcast? (Is it to share knowledge, entertain, establish authority, etc.?)
• Who are you aiming to reach with your content?
• What subjects will you discuss?
Choosing a Niche
Focusing your content will help you draw in a committed audience. For instance:
• Instead of “marketing,” try “social media marketing for small businesses.”
• Instead of “Health & Wellness,” consider “Mental Health for Entrepreneurs.” Choosing a specific niche makes your podcast unique and attracts a clearly defined audience.
Naming Your Podcast
Your podcast name should be:
• Concise and catchy
• Related to your subject matter
• Simple to spell and easy to find
Before you finalize, verify domain availability and make sure no other podcast shares the same name.
Step 2: Choose a Podcast Format
When creating content, it’s essential to consider the format that best suits your message and audience. Here are some popular formats to think about:
• Solo Show: This format allows you to speak directly to your audience, making it ideal for sharing your thoughts and establishing yourself as a thought leader.
• Interview Show: By inviting guests, you can provide diverse insights and perspectives, enriching the conversation.
• Co-hosted Show: Partnering with someone else can add dynamism and variety to your discussions.
• Narrative or Scripted Show: This format resembles storytelling podcasts and often requires more production effort.
Regarding episode length and scheduling, consider the following:
Step 3: Set Up Your Podcast Equipment
You don’t need to invest in expensive equipment to get started, but having good audio quality is essential. Here’s what you’ll need:
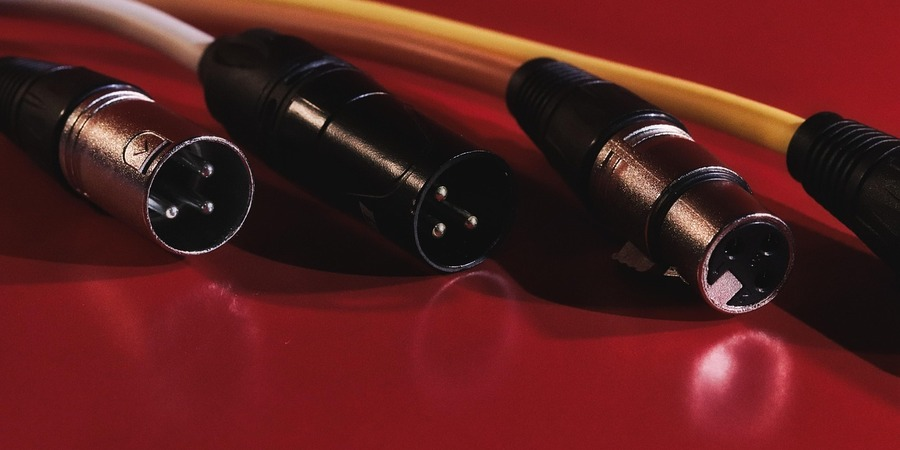
Microphone
• Budget-friendly: Samson Q2U ($70, USB/XLR connection)
• Mid-range: Rode PodMic ($150, XLR connection)
• High-end: Shure SM7B ($400, professional quality)
A good podcast mic enhances your audio quality and makes editing easier. Less background noise in your recording means less editing on the backend.
Other Essentials
• Headphones: To keep an eye on your audio quality.
• Pop Filter: To minimize harsh sounds.
• Mic Stand/Arm: For comfort and stability.
Step 4: Choose Your Recording and Editing Software
Free: Audacity (Windows/Mac/Linux)—simple and effective.
Paid: Adobe Audition – advanced features for professionals.
Remote Interviews: Use tools like Riverside.fm, Zencastr, or SquadCast.
Step 5: Record and Edit Your First Episode
New version:
Tips for Recording
• Choose a quiet location to minimize background noise.
• Prepare a script or outline to help you stay focused.
• Record a short test clip to check volume and clarity.
Editing Process
• Eliminate background noise and lengthy pauses.
• Adjust audio levels for consistency.
• Incorporate intro and outro music to give your podcast a professional touch.
Mic Stand/Arm: Provides comfort and stability while recording.
Step 6: Create Podcast Artwork and Branding
Your podcast cover should be:
Consistent with your brand colors and style.
1400×1400 to 3000×3000 pixels (per Apple Podcasts guidelines).
Clear, simple, and eye-catching.
Step 7: Set Up Podcast Hosting
Podcast hosting platforms store your audio files and generate an RSS feed for distribution. Popular hosting platforms include:
- Buzzsprout (Beginner-friendly, free option available)
- Libsyn (Reliable, used by top podcasters)
- Blubrry (Great for WordPress users)
Step 8: Publish Your Podcast to Directories
Once you’ve uploaded your episode to a hosting service, submit your RSS feed to major platforms:
Stitcher, TuneIn, Pocket Casts, and others
Apple Podcasts (Most important for discoverability)
Step 9: Promote and Grow Your Podcast
Ways to Promote Your Podcast
Encourage reviews on Apple Podcasts to boost visibility.
Create social media clips using audiograms (Headliner.app).
Engage with listeners through emails, social media, and live Q&A sessions.
Optimize your website for SEO and embed podcast episodes.
Leverage guest appearances to reach new audiences.
Step 10: Monetize Your Podcast (Optional)
Once you build an audience, you can start earning from your podcast
- Sponsorships: Partner with brands relevant to your niche.
- Affiliate Marketing: Promote products/services and earn commissions.
- Listener donations: Platforms like Patreon allow fans to support you
Final Thoughts
Starting a podcast may seem overwhelming, but by taking it step by step, you’ll be on your way to building a successful show. Focus on delivering value, stay consistent, and engage with your audience. Over time, your podcast will grow into a powerful platform that reaches and impacts listeners worldwide. Happy podcasting!
Dynamic microphones work best for podcasting. They pick up lower frequencies and have less sensitivity. This means you’ll have less background noise to edit out later.